How to Make Calendula Oil at Home: Complete Infusion Guide
Creating your own calendula infused oil at home connects you directly with this golden flower's traditional botanical legacy. This comprehensive guide walks you through every step of the oil infusion process, from selecting the finest calendula petals to proper storage techniques that preserve your homemade creation.
Key Takeaways
- Two primary infusion methods: solar infusion (2-6 weeks) and gentle heat infusion (4-6 hours)
- Fresh calendula petals contain moisture that can cause rancidity; dried petals are recommended
- Choose high-quality carrier oils like olive, sunflower, or jojoba for optimal results
- Proper straining and storage extend shelf life to 1-2 years
- Always perform patch tests before use and consult healthcare providers for specific applications
Table of Contents
- Understanding Calendula for Oil Making
- Choosing Your Materials and Equipment
- Calendula Preparation Methods
- Oil Infusion Techniques
- Straining and Storage
- Quality Testing and Shelf Life
- Troubleshooting Common Issues
- Safety Considerations and Best Practices
Understanding Calendula for Oil Making
Before diving into the practical aspects of making calendula oil, it's essential to understand what makes this botanical so special for oil infusions. Calendula officinalis, commonly known as pot marigold, has been treasured for centuries in traditional herbal practices across Europe and beyond.
The Science Behind Calendula Infusions
When calendula petals are infused in carrier oil, fat-soluble compounds naturally transfer from the plant material into the oil medium. Research suggests that calendula contains various compounds including flavonoids, carotenoids, and triterpenes that may contribute to its traditional reputation in botanical applications.
The infusion process works through simple extraction principles. Oil acts as a solvent, drawing out lipophilic (fat-loving) compounds from the dried flower petals over time. Temperature and duration influence this extraction, with gentle, prolonged methods often yielding more comprehensive compound profiles.
Fresh vs. Dried Calendula
While fresh calendula flowers appear more vibrant and appealing, dried petals are strongly recommended for oil making. Fresh plant material contains significant water content, which can introduce moisture into your oil infusion. This moisture creates an environment where bacteria and mold may thrive, potentially spoiling your finished product.
Properly dried calendula petals should feel papery and brittle, with most of their original moisture removed. They retain their beneficial compounds while eliminating the water that could compromise your oil's stability and shelf life.
Sourcing Quality Calendula
The quality of your finished oil directly correlates with the quality of your starting material. When sourcing calendula for oil making, consider these factors:
- Organic certification: Choose organic calendula to avoid potential pesticide residues
- Color retention: High-quality dried petals maintain vibrant orange and yellow hues
- Freshness: Even dried botanicals have optimal use windows; source from reputable suppliers with good turnover
- Processing method: Air-dried or low-temperature dried petals preserve more delicate compounds than high-heat processed material
Choosing Your Materials and Equipment
Success in calendula oil making begins with selecting appropriate materials and equipment. Each component plays a crucial role in the final product's quality, stability, and effectiveness.
Carrier Oil Selection
Your calendula carrier oil choice significantly impacts both the infusion process and the final product characteristics. Different carrier oils offer varying benefits:
| Carrier Oil | Characteristics | Best For | Shelf Life |
|---|---|---|---|
| Extra Virgin Olive Oil | Rich, stable, traditional choice | General use, beginners | 2+ years |
| Sunflower Oil | Light texture, vitamin E content | Skin applications | 1-2 years |
| Jojoba Oil | Actually a wax, very stable | Premium preparations | 3+ years |
| Sweet Almond Oil | Mild, easily absorbed | Gentle applications | 1-2 years |
| Fractionated Coconut Oil | Liquid at room temperature | Light, non-greasy feel | 2+ years |
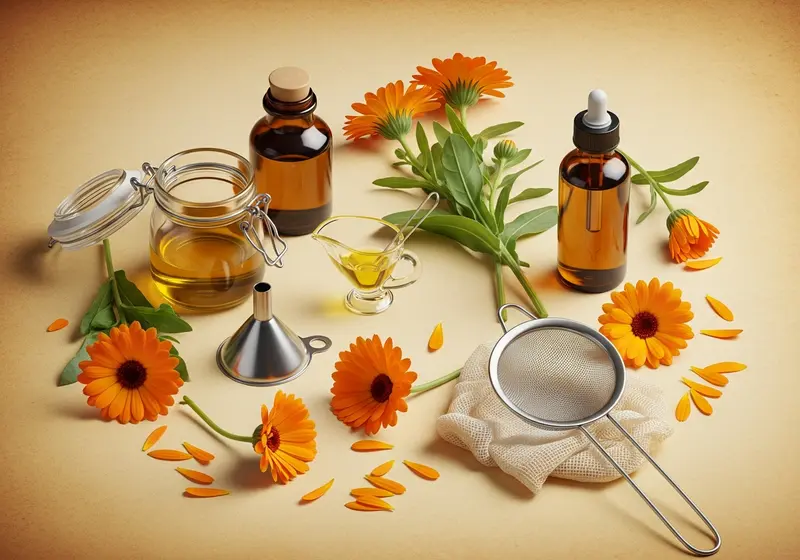
Essential Equipment
Gathering the right equipment before you begin ensures a smooth, professional oil-making process:
Primary Equipment
- Glass jars: Mason jars or canning jars work excellently; avoid plastic containers which may leach chemicals
- Fine-mesh strainer: Stainless steel preferred; multiple layers may be needed
- Cheesecloth or muslin: For final filtration and crystal-clear results
- Double boiler or slow cooker: For controlled heat infusion methods
- Dark glass bottles: For final storage; amber or cobalt blue protect from light degradation
Measuring and Safety Tools
- Kitchen scale: Digital scale for precise measurements
- Measuring cups: Glass or stainless steel preferred
- Labels and markers: For dating and identification
- Thermometer: For monitoring temperatures during heat infusion
- Rubber gloves: For handling and straining
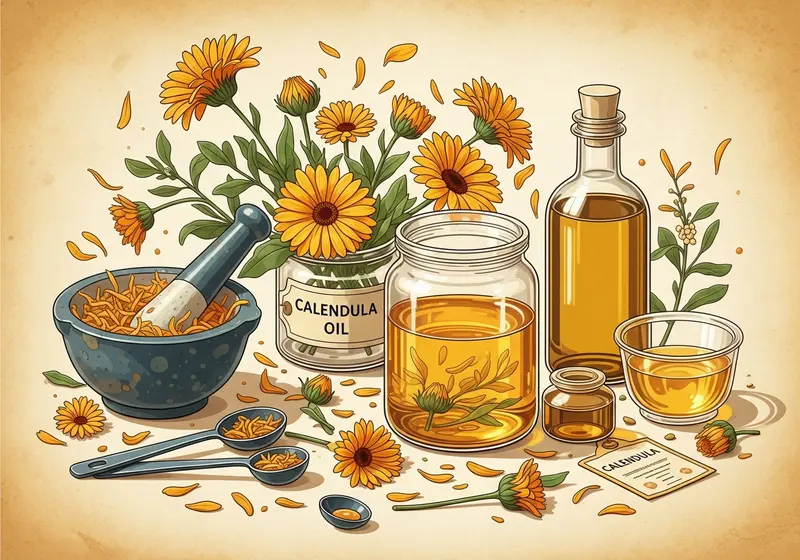
Calendula Preparation Methods
Proper preparation of your calendula petals sets the foundation for successful oil infusion. This stage requires attention to detail and patience, but the investment pays dividends in your final product quality.
Drying Fresh Calendula
If you're working with fresh calendula flowers from your garden or local source, proper drying is crucial. Here's the step-by-step process:
Harvest Timing
Harvest calendula flowers in mid-morning after dew has evaporated but before the day becomes too hot. Select fully opened flowers at their peak color intensity. Flowers should be free from moisture, pest damage, and chemical treatments.
Preparation for Drying
- Gently remove petals from flower heads, discarding stems and green parts
- Rinse petals briefly in cool water if needed, then pat completely dry
- Spread petals in a single layer on screens, parchment paper, or drying racks
- Ensure good air circulation around drying petals
Drying Methods
Air drying (recommended): Place petals in a warm, dry, well-ventilated area away from direct sunlight. Complete drying typically takes 7-14 days depending on humidity levels.
Dehydrator method: Use lowest heat setting (95-115°F) for 6-12 hours. Check regularly to prevent over-drying.
Oven method (last resort): Use oven's lowest setting with door slightly ajar. Monitor closely to prevent burning.
Testing Dryness
Properly dried calendula petals should be completely crisp and brittle. They should crumble easily between your fingers without any sensation of moisture or flexibility. Any remaining moisture can introduce water into your oil infusion, creating conditions for spoilage.
Storage of Dried Petals
Once fully dried, store calendula petals in airtight containers away from light and heat. Glass jars with tight-fitting lids work well. Properly stored dried calendula maintains quality for 1-2 years, though using within one year ensures optimal potency.
Oil Infusion Techniques
Two primary methods dominate calendula oil making: solar infusion and gentle heat infusion. Each approach offers distinct advantages and suits different preferences and timelines.
Solar Infusion Method (Traditional)
Solar infusion represents the most traditional approach to creating calendula oil, relying on gentle, consistent warmth from sunlight to extract botanical compounds over several weeks.
Step-by-Step Solar Infusion
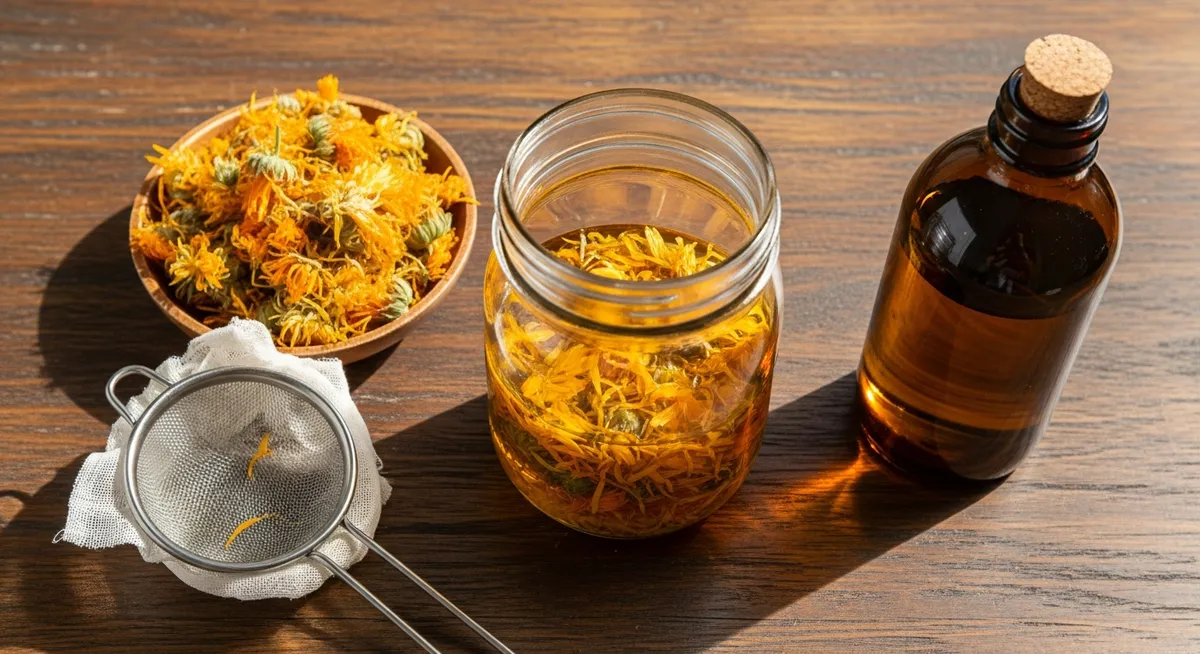
- Prepare the jar: Fill a clean, dry glass jar about 1/3 full with dried calendula petals
- Add carrier oil: Pour your chosen carrier oil over the petals, leaving 1-2 inches of headspace
- Stir and settle: Gently stir to eliminate air bubbles and ensure all petals are submerged
- Secure covering: Cover with a tight-fitting lid or cheesecloth secured with a rubber band
- Find optimal placement: Place jar in a warm, sunny location that receives consistent indirect light
- Daily attention: Shake or stir gently once daily to encourage extraction
- Monitor progress: Infusion typically requires 2-6 weeks depending on temperature and sunlight intensity
Solar Infusion Tips
- Avoid direct, intense sunlight which may overheat the oil
- Maintain consistent temperatures between 80-100°F for optimal extraction
- Consider using a sunny windowsill, greenhouse, or warm outdoor location
- Longer infusion times generally yield stronger, more concentrated oils
Gentle Heat Infusion Method (Quick)
Heat infusion accelerates the extraction process, producing finished calendula oil in hours rather than weeks. This method requires more attention but offers greater control over the infusion process.
Double Boiler Method
- Set up double boiler: Fill bottom pot with water and place smaller pot or heat-safe bowl on top
- Combine ingredients: Add dried calendula petals and carrier oil to the top vessel
- Monitor temperature: Maintain oil temperature between 100-140°F; never exceed 180°F
- Infusion time: Allow gentle heating for 4-6 hours, stirring occasionally
- Check progress: Oil should take on golden color as compounds extract
- Maintain water level: Add water to bottom pot as needed to prevent burning
Slow Cooker Method
- Prepare containers: Place calendula and oil in a glass jar, then set jar in slow cooker
- Add water: Pour water around jar up to oil level (water bath method)
- Low heat setting: Use lowest heat setting available on your slow cooker
- Extended infusion: Allow 6-8 hours for thorough extraction
- Monitor regularly: Check oil temperature and water levels periodically
Ratio Guidelines
Achieving the right plant-to-oil ratio ensures optimal extraction without waste:
- Standard ratio: 1 part dried calendula petals to 5 parts carrier oil by volume
- Stronger infusion: 1 part petals to 3 parts oil for more concentrated results
- Gentle infusion: 1 part petals to 8 parts oil for subtle, mild preparations
Straining and Storage
The straining and storage phase determines your calendula oil's final quality, clarity, and shelf life. Attention to detail during this stage preserves all your previous efforts and ensures a professional-quality final product.
Straining Techniques
Initial Straining
Begin straining while your oil is still slightly warm, as this helps flow and reduces viscosity. Set up your straining station with all necessary equipment within easy reach.
- Primary filter: Pour infused oil through a fine-mesh stainless steel strainer to remove large plant material
- Press extraction: Gently press the caught plant material with the back of a spoon to extract additional oil
- Secondary straining: Pour the strained oil through cheesecloth or muslin for finer filtration
- Final filtration: For crystal-clear oil, filter through coffee filters or laboratory filter paper
Advanced Straining Tips
- Allow gravity to do most of the work; avoid forceful pressing which may cloud the oil
- Use multiple layers of cheesecloth for better filtration without losing significant oil volume
- Consider allowing strained oil to settle overnight, then carefully decant clear oil from any sediment
- Save pressed plant material for composting or other botanical projects
Storage Container Selection
Proper storage containers significantly impact your calendula oil's longevity and quality preservation:
Ideal Container Characteristics
- Dark glass: Amber, cobalt blue, or violet glass blocks harmful light wavelengths
- Tight seals: Airtight caps prevent oxidation and contamination
- Appropriate sizing: Choose containers that minimize headspace when filled
- Quality materials: Avoid plastic containers which may leach chemicals over time
Proper Storage Conditions
Environmental factors significantly influence your calendula oil's shelf life and stability:
Temperature Control
Store calendula oil in cool, stable temperatures. (See: NIH — Calendula Research.) Ideal storage temperature ranges from 60-70°F. Avoid areas with temperature fluctuations like near heating vents, sunny windows, or appliances that generate heat.
Light Protection
Light exposure, particularly UV light, can degrade beneficial compounds in your calendula oil. Dark glass containers provide some protection, but storage in dark locations offers additional security. Consider pantries, cabinets, or dedicated storage boxes.
Humidity Considerations
Low humidity environments help prevent condensation that could introduce moisture into your oil. Avoid bathroom storage or other high-humidity areas.
Labeling and Documentation
Proper labeling serves both safety and quality purposes:
- Preparation date: Record when you completed the oil infusion
- Ingredients: List calendula source and carrier oil type
- Method used: Note whether you used solar or heat infusion
- Expected shelf life: Based on your carrier oil's stability
- Batch notes: Any observations about color, scent, or extraction success
Quality Testing and Shelf Life
Understanding how to evaluate your calendula oil's quality and monitor its condition over time ensures you always use fresh, potent preparations while avoiding degraded products.
Visual Quality Indicators
Color Assessment
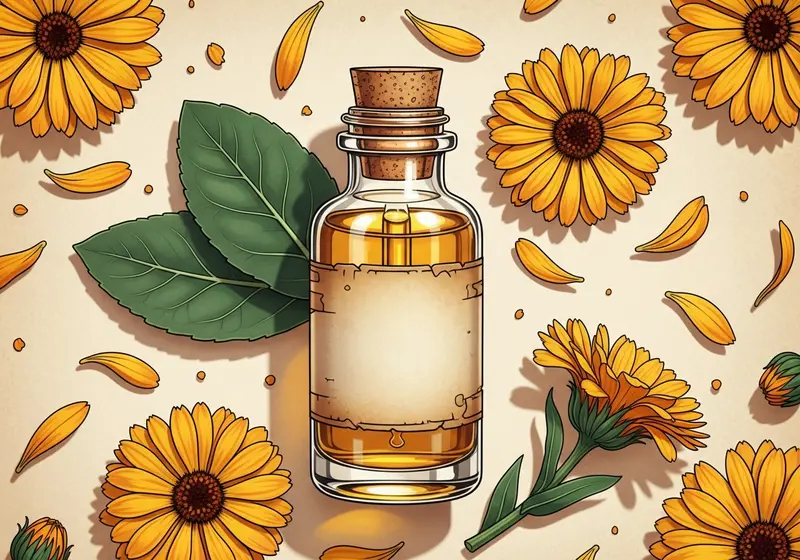
High-quality calendula oil displays a rich, golden-orange hue that reflects the flower's natural pigments. The intensity may vary based on infusion method, calendula quality, and carrier oil choice, but should appear vibrant and clear.
Acceptable color variations include:
- Deep golden yellow: Typical with olive oil carriers or shorter infusions
- Orange-amber: Common with longer infusions or higher-quality calendula
- Light golden: Normal with lighter carrier oils like sunflower or almond
Clarity and Consistency
Properly strained calendula oil should appear clear without visible particles or cloudiness. Some very light sediment may settle over time, which is normal and harmless. The oil should flow smoothly without unusual thickness or separation.
Sensory Evaluation
Aroma Profile
Fresh calendula oil typically exhibits a pleasant, herbaceous scent with subtle floral notes. The aroma should be clean and appealing without harsh, rancid, or off-putting odors. Each carrier oil contributes its own scent characteristics:
- Olive oil base: Slightly fruity, herbaceous background
- Sunflower base: Very light, clean scent
- Jojoba base: Virtually odorless, allowing calendula's natural aroma to dominate
Texture and Feel
Quality calendula oil should feel smooth and consistent when applied to skin. It should absorb reasonably well without leaving excessive greasy residue, though absorption rates vary significantly among different carrier oils.
Signs of Degradation
Recognizing deterioration signs helps you identify when calendula oil has passed its prime and should be replaced:
Visual Warning Signs
- Color changes: Significant darkening, fading, or unusual color shifts
- Cloudiness: Development of haziness or suspended particles
- Separation: Layers forming within the oil
- Visible mold: Any fuzzy growths, particularly around the container opening
Sensory Warning Signs
- Rancid odor: Sharp, unpleasant, paint-like smells
- Harsh scent: Loss of pleasant herbal aroma
- Sticky texture: Unusual thickness or tackiness
- Skin irritation: Any burning, stinging, or excessive irritation during use
Shelf Life Expectations
Calendula oil shelf life depends primarily on the carrier oil's stability and storage conditions:
| Carrier Oil | Optimal Storage | Room Temperature | Refrigerated |
|---|---|---|---|
| Olive Oil | 18-24 months | 12-18 months | 24-30 months |
| Sunflower Oil | 12-18 months | 8-12 months | 18-24 months |
| Jojoba Oil | 24-36 months | 18-24 months | 36+ months |
| Sweet Almond | 12-18 months | 6-12 months | 18-24 months |
Troubleshooting Common Issues
Even experienced oil makers encounter occasional challenges. Understanding common problems and their solutions helps you troubleshoot issues and improve future batches.
Cloudy or Hazy Oil
Causes and Solutions
Insufficient straining: Re-strain through finer filters like coffee filters or laboratory filter paper. Allow oil to settle overnight, then carefully decant clear oil from sediment.
Moisture contamination: This serious issue may require discarding the batch. In mild cases, gentle heating with moisture-absorbing agents like rice may help, but prevention through proper drying is preferable.
Temperature shock: Rapid temperature changes can cause temporary cloudiness. Allow oil to return to room temperature naturally; cloudiness may clear.
Weak Color or Scent
Improvement Strategies
Extended infusion: Continue solar infusion for additional weeks, or add fresh calendula to existing oil for a second infusion cycle.
Quality assessment: Evaluate your calendula source. Old, faded, or low-quality petals produce weak infusions. Source fresh, high-quality dried calendula for future batches.
Ratio adjustment: Increase the calendula-to-oil ratio in future preparations for stronger results.
Rancidity Development
Prevention and Early Intervention
Antioxidant addition: Add vitamin E oil (0.5-1% by volume) to extend shelf life naturally. This works best as prevention rather than approach.
Storage optimization: Move oil to cooler, darker storage immediately. Consider refrigeration for maximum stability.
Batch disposal: Truly rancid oil should be discarded safely. It's not worth risking skin irritation or other issues.
Contamination Issues
Mold or Bacterial Growth
Any visible mold or bacterial growth requires immediate disposal of the entire batch. This typically results from:
- Insufficiently dried plant material
- Contaminated equipment or containers
- Poor storage conditions with excess moisture
- Compromised container seals allowing contamination
Prevention strategies:
- Ensure complete dryness of all plant materials
- Sterilize all equipment with rubbing alcohol
- Use only clean, dry containers and utensils
- Store in appropriate conditions with tight seals
Safety Considerations and Best Practices
Creating calendula oil at home involves handling oils, heat, and botanical materials. Following proper safety protocols protects both you and your finished product while ensuring optimal results.
Equipment Safety
Heat Management
When using heat infusion methods, maintain careful temperature control to prevent burns and oil degradation:
- Monitor temperatures: Use a reliable thermometer and never exceed 180°F
- Stable setups: Ensure double boilers and slow cookers sit on stable, heat-resistant surfaces
- Ventilation: Work in well-ventilated areas to prevent vapor buildup
- Emergency preparation: Keep appropriate fire extinguishers nearby when working with heated oils
Handling Precautions
- Wear heat-resistant gloves when handling warm oils or equipment
- Use eye protection if splashing is possible
- Keep first aid supplies accessible
- Work slowly and deliberately to prevent accidents
Ingredient Safety
Calendula Considerations
While calendula is generally well-tolerated, some individuals may experience sensitivities:
- Allergy awareness:Sources & Further Reading